Product designer
Use a product photo to establish proportions, silhouette, and major surfaces before CAD refinement.
Move from a visual reference to a reviewable concept faster.
Image conversion
Image to 3d model free workflows help you turn a reference picture into a starting 3D asset without rebuilding the shape from scratch. Upload a clear image, describe the result you want, and refine the output for your project.
An image-based workflow is useful when the visual reference already exists but the editable geometry does not. These examples show where a first-pass model can save time.
Use a product photo to establish proportions, silhouette, and major surfaces before CAD refinement.
Move from a visual reference to a reviewable concept faster.
Convert a creature, prop, or vehicle reference into a rough asset for blocking and scene composition.
Test scale, camera angles, and visual direction before detailed sculpting.
Start with a photo of a simple object and prepare a mesh for cleanup, sizing, and print checks.
Get a tangible starting point instead of modeling every feature manually.
Use a sketch, reference image, or found object as the visual basis for an experimental 3D scene.
Explore form and variations quickly while keeping the original image as a guide.
The conversion is valuable because it changes how you can inspect and iterate on an idea. It does not remove the need for judgment: the source image and the intended use determine how much cleanup is required.
| Reference image | Generated 3D asset | |
|---|---|---|
| What it contains | Pixels, lighting, color, and visible surfaces | Geometry, materials, and a viewable object |
| Best use | Communicating appearance and visual direction | Blocking scenes, checking form, and preparing edits |
| Viewing angle | Usually limited to the captured viewpoint | Can be inspected from multiple angles |
| Editability | Edited as a flat image or layered composition | Can be reshaped, scaled, separated, or remeshed |
| Hidden surfaces | Often absent or inferred from context | Estimated by the generation process and requiring review |
| Production readiness | Ready for visual reference | A starting mesh that may need topology and material cleanup |
| Measurement confidence | Reliable only when scale and perspective are known | Useful for proportion studies, not automatic dimensional accuracy |
A strong source image usually has one clear subject, visible edges, and limited occlusion. The generated result is best treated as a first pass: inspect the silhouette, rotate the object, and correct important areas before using it in a final scene or fabrication workflow.
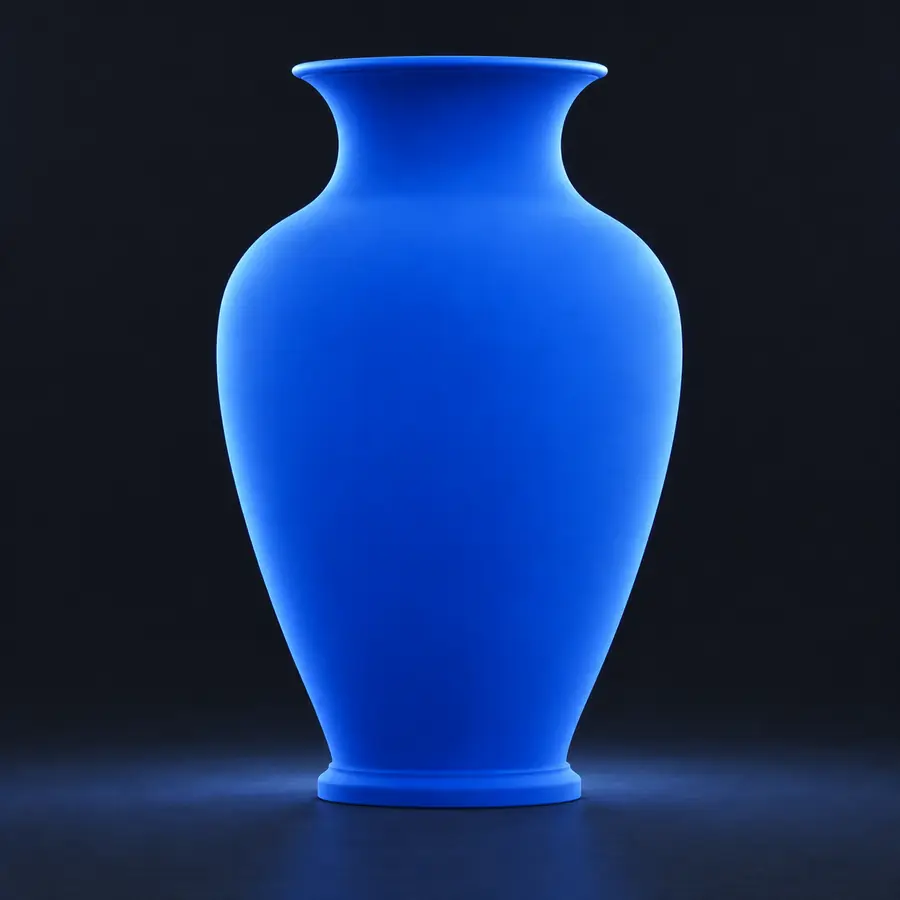
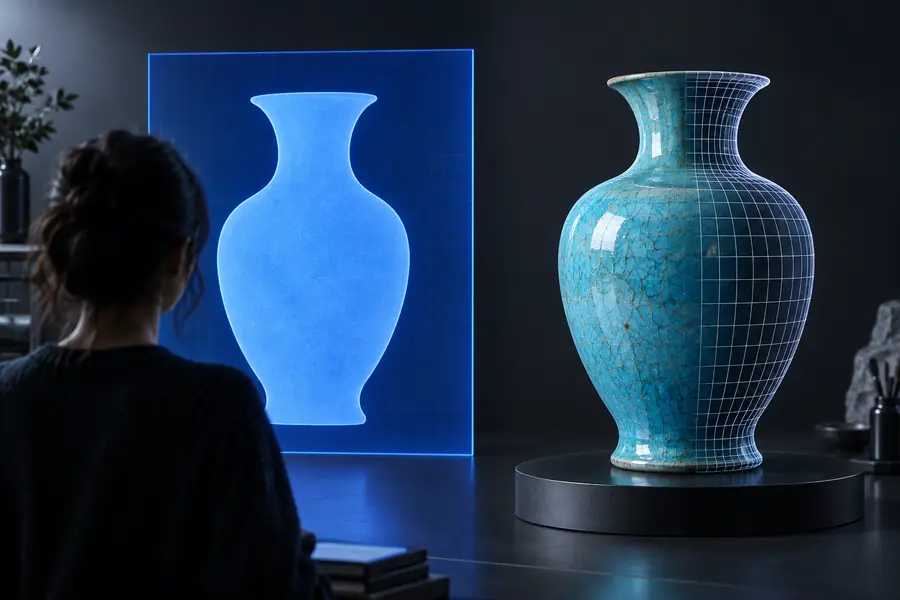
The output is a starting mesh, not a guaranteed production-ready asset.
Reference image3D starting pointChoose the input method that matches what you already have: an image, a written description, or a browser-based generation workflow.
Use the slider to estimate how a batch of image conversions can affect your review workload. These are planning figures, not a promise about generation speed or output quality.
minutes
minutes
Image conversion fills in missing information, so the result can look convincing while still needing technical correction. Plan for a review step whenever accuracy, fit, or printability matters.
A single view does not fully specify the back, underside, or concealed structure of an object.
What to do instead
Use multiple reference images or manually rebuild hidden areas.
Perspective, lens distortion, and missing scale can make proportions look right but measure incorrectly.
What to do instead
Set a known dimension and verify important measurements in a 3D editor.
Thin parts, intersections, and dense or uneven geometry may need substantial cleanup.
What to do instead
Remesh, retopologize, or simplify the asset for its intended use.
A reference photo includes shadows and reflections that may be mistaken for surface detail.
What to do instead
Separate geometry decisions from final materials and lighting during review.
Answers for common questions about turning a reference picture into a 3D asset with a free workflow.
It is a browser-based workflow that uses an image as the visual reference for generating a 3D object. The result is typically a first-pass asset that you inspect and refine rather than a guaranteed final model.
You can try many subjects, but clear images with one well-defined object usually produce more useful results. Busy backgrounds, heavy occlusion, extreme perspective, and reflective surfaces can reduce consistency.
Not automatically. Check whether the mesh is closed, remove unwanted interiors, confirm scale, and repair thin or intersecting parts before preparing it for a printer.
Use a sharp image with the subject centered, visible edges, even lighting, and as little background clutter as possible. Multiple angles are helpful when the object has important details that one view cannot show.