Print-ready concepts

Build Better Parts with an AI 3D Print Model Generator

An ai 3d print model generator helps you move from a rough idea to a useful printable concept before spending time on detailed CAD work. Describe the object, review the proportions, and refine the next version with a clear purpose in mind.

Free to start · no signup

Three workflows

Three Concrete Workflows

The best result depends on what you know at the beginning. Pick the workflow that matches your source material and the level of precision your print requires.

The repair maker

You need a replacement knob, bracket, spacer, or clip but only have a rough description and a few measurements.

Begin with an ai 3d model generator, then use the first shape as a proportion reference before adding exact dimensions in CAD.

ai 3d model generator free no sign up

The product sketcher

You want to test the silhouette of a small enclosure, organizer, tool holder, or desk accessory before modeling every detail.

Use text to establish the form, review a quick model, and print a low-detail draft to expose awkward proportions.

text to 3d model ai free

The reference-based maker

You have a photo of a simple object, but rebuilding its broad shape from scratch would take longer than the print is worth.

Use image-led generation for a rough base, then correct openings, wall thickness, orientation, and support areas manually.

image to 3d model free

The concept educator

You need a tangible classroom or workshop example that communicates an idea without requiring learners to master a full modeling package.

Generate a simple object, inspect it together, and use the print to discuss scale, geometry, tolerances, and iteration.

what is model ai 3d free

Example output

Example Output

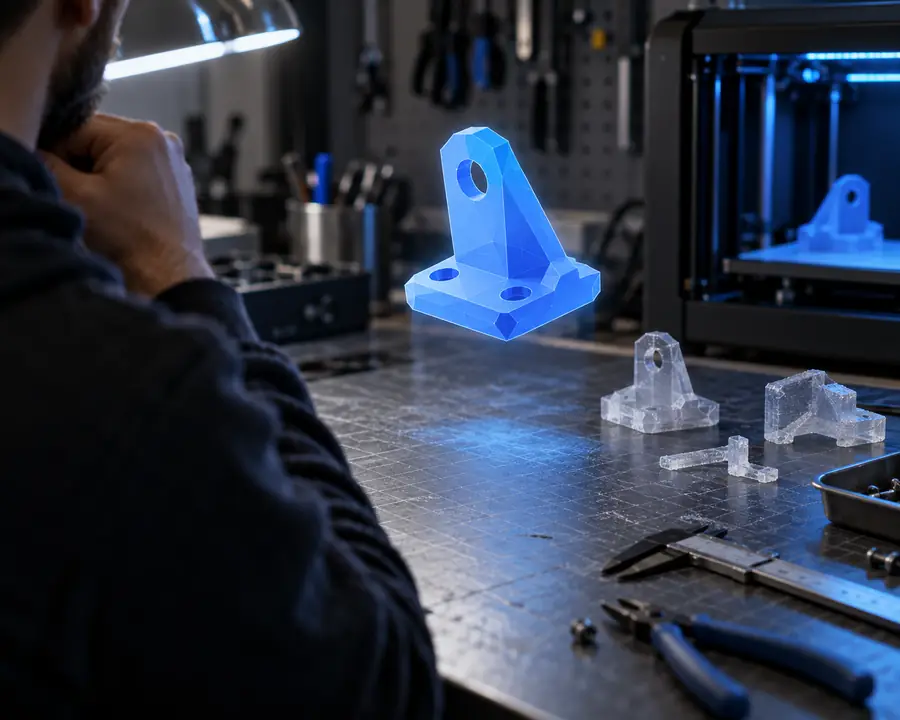
A useful generated part is not judged by appearance alone. Compare the first concept with the version prepared for a real printer and a real use case.

Early AI-generated concept for a small printable part
Concept model
Refined 3D model prepared for a practical print workflow
Print-ready revision

The first pass communicates shape; the second pass accounts for orientation, clearances, wall strength, and the limits of the selected printer.

Concept modelPrint-ready revision

Planning check

Compliance Notes

A simple estimate makes experimentation easier to plan. Adjust the number of iterations to see how much material, time, and review effort the workflow may involve.

Estimated material

g

Estimated print time

min

Review time saved

min

Workflow evolution

Compliance Notes

AI-assisted printing grew out of a longer shift from hand-built prototypes to digital, editable, and increasingly automated fabrication workflows.

  1. Desktop 3D printing enters the conversation

    Early additive manufacturing ideas made it possible to think of physical objects as layered digital instructions rather than fixed tooling.

  2. CAD becomes the working language

    More accessible modeling software gave makers a practical way to define dimensions, edit parts, and prepare geometry for fabrication.

  3. Affordable printers broaden experimentation

    Desktop machines made short prototype cycles common for educators, hobbyists, designers, and small product teams.

  4. Generative tools shorten the first draft

    Prompt- and image-assisted systems began helping people create an initial 3D form before they refine measurements and print constraints.

  5. Human review remains the final step

    The useful format is a loop: describe, generate, inspect, measure, revise, and test the physical result.

Choose your path

Compliance Notes

Use generation for the part of the process where uncertainty is highest, then switch tools when precision, safety, or repeatability becomes the priority.

or

Option 1

Choose text generation when you have a clear object description but no reference image.

Write the purpose, approximate dimensions, openings, mounting points, and important restrictions.

Text is fast for exploring alternatives, but every critical measurement still needs verification.

or

Option 2

Choose image-led generation when the broad silhouette matters more than hidden dimensions.

Provide a clean reference and identify which surfaces, holes, and edges must be corrected afterward.

A picture communicates appearance well, but it rarely proves scale, thickness, or mechanical fit.

or

Option 3

Choose manual CAD when the part must mate with another component or carry a meaningful load.

Use the generated model only as a visual starting point, then rebuild or constrain the geometry precisely.

A model that looks right can still fail because of tolerances, weak walls, unsupported overhangs, or inaccurate interfaces.
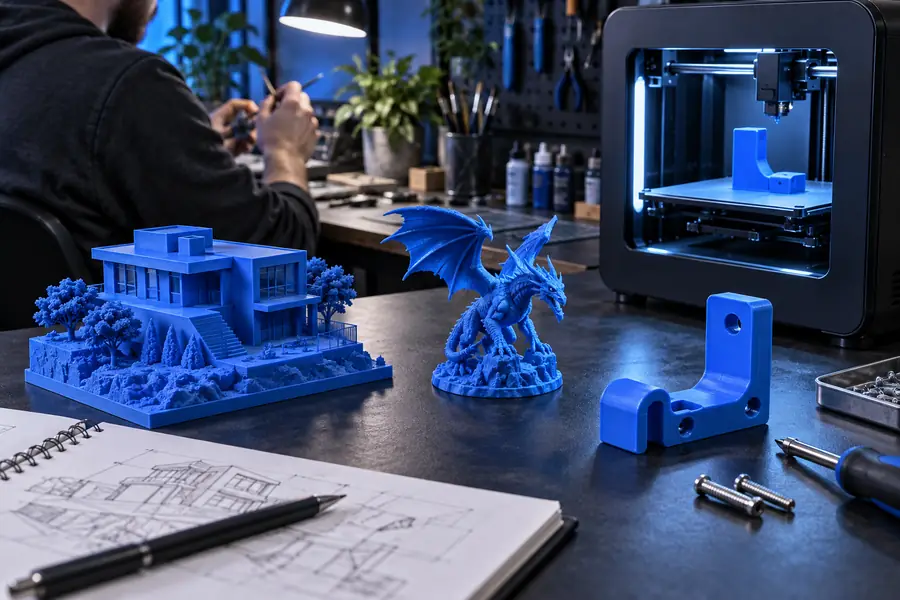
At a glance

Compliance Notes

These simple checkpoints keep a model ai 3d workflow grounded in the realities of making a physical object.

Shape, scale, and fit to review before slicing
3 checks
Concept pass followed by print-oriented refinement
2 passes
Small physical test before committing to a larger run
1 test
Critical dimensions should never be inferred without measurement
0 assumptions

Scenario FAQ

Scenario FAQ

Answers for makers deciding whether AI-assisted modeling is suitable for a printable object.

It is a tool that uses a written description, image, or both to create a starting 3D object for review. The result can help with concept development, but it should be checked and often edited before printing.

Sometimes a simple decorative model may print with little preparation, but practical parts usually need inspection first. Check scale, wall thickness, closed surfaces, overhangs, tolerances, and the file's orientation in your slicer.

Describe the object's purpose, approximate dimensions, important openings, mounting points, shape constraints, and the material or printer context when known. Clear functional details usually produce a more useful starting point than style words alone.

It can help visualize a replacement part or create a rough base, especially when the original shape is simple. For anything that must fit another component, measure the interface and verify the final geometry manually before printing.

Confirm that the mesh is closed, the scale is correct, surfaces are oriented properly, and thin areas are strong enough for the chosen material. Also inspect supports, clearances, and the expected load or heat exposure of the finished object.

Start creating
Start creating