Practical tutorial
How to Use Model AI 3D Free for Your First Asset
This guide shows how to use model ai 3d free from the first idea to a downloadable 3D result, with practical checks for prompts, references, and revisions.
Start here
Prerequisites
A successful generation begins with a clear objective and a few suitable inputs. Prepare these items before sending your first request so you can judge the result fairly.
-
1
Define the object
Decide what the asset is, what it should be used for, and which features must be visible. A concrete subject such as a low-poly storage crate is easier to interpret than a broad request for something interesting.
-
2
Write a visual brief
Describe the silhouette, materials, proportions, style, and important parts in one compact prompt. Put the most important characteristics first and avoid combining unrelated objects in the same request.
-
3
Choose a review goal
Know whether you are checking the overall shape, a production concept, a printable form, or a scene-ready asset. The right goal determines how much cleanup and testing the output will need.
Before generation
Numbered steps
Use this checklist to separate essential preparation from optional refinement. The required items keep the first attempt focused; the optional items help when the output needs more control.
-
A specific subject with one primary form — Name the object instead of describing only a mood or category.
-
A prompt covering shape, style, material, and key details — Use plain visual language and prioritize the details that matter most.
-
A suitable reference image when the workflow accepts image inputoptional — Use a clear, well-lit view with the subject separated from a busy background.
-
A browser connection and enough time to inspect the generated result — Generation is only the middle of the process; review is part of the task.
-
A preferred output format or downstream destinationoptional — This matters if the asset will move into a game engine, CAD tool, renderer, or print workflow.
Troubleshooting
Common errors and fixes
Most weak first results come from ambiguous instructions, conflicting requirements, or judging the preview as if it were a finished production asset.
The prompt asks for too many objects
A request that combines several separate subjects can produce merged parts, missing features, or an unclear silhouette.
What to do instead
Generate the primary object first, then create supporting assets separately or simplify the scene description.
Small details are inconsistent
Tiny buttons, thin cables, repeated patterns, and exact text are difficult to reproduce reliably in an initial 3D generation.
What to do instead
Describe the large forms first and plan to add delicate details during editing or texturing.
The mesh is not ready for every use
A visually convincing preview may still contain uneven topology, open surfaces, rough UVs, or proportions that need correction.
What to do instead
Inspect the mesh in a 3D editor and repair, retopologize, remesh, or simplify it before production use.
The output does not match the reference
A single image can hide depth, scale, and the back side of an object, so the generated form may be plausible without being an exact copy.
What to do instead
Use clearer references from multiple angles when available and state which silhouette or feature must be preserved.
Workflow context
Advanced tips
AI-assisted 3D workflows have developed from rough shape exploration into a useful first-pass method. The most reliable approach still treats generation as an iterative design stage rather than a final inspection.
-
Manual blocking came first
Artists commonly built a rough primitive-based blockout before refining proportions, materials, and small forms by hand.
-
Prompted visual concepts expanded
Text-guided image systems made it easier to explore silhouettes and styles quickly, but the result was usually a 2D reference rather than an editable asset.
-
Image and text began guiding 3D
New workflows connected written descriptions and reference images to generated three-dimensional concepts, reducing the time needed to reach a first shape.
-
Iteration is the practical advantage
The strongest process uses AI for exploration, then checks scale, topology, materials, and file compatibility before the model enters a larger project.
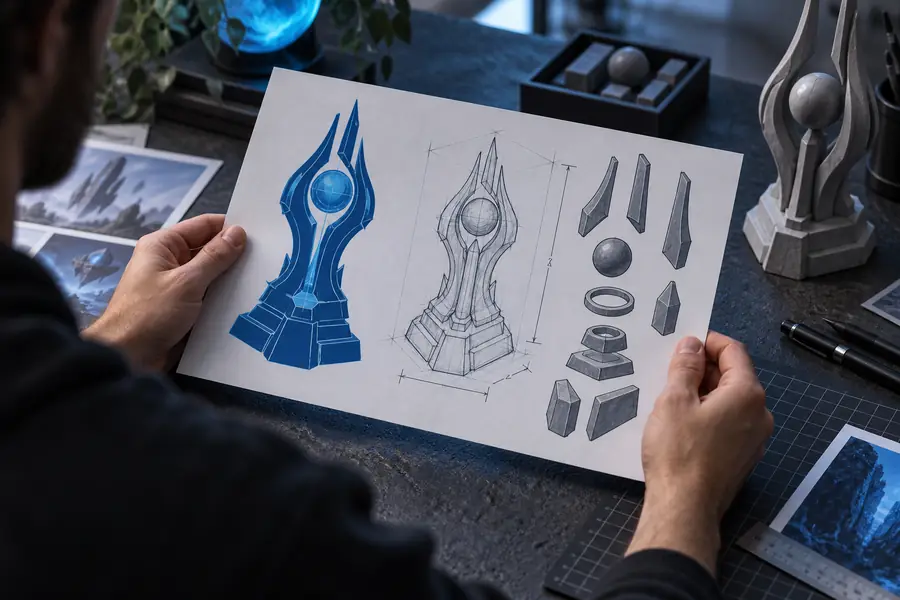
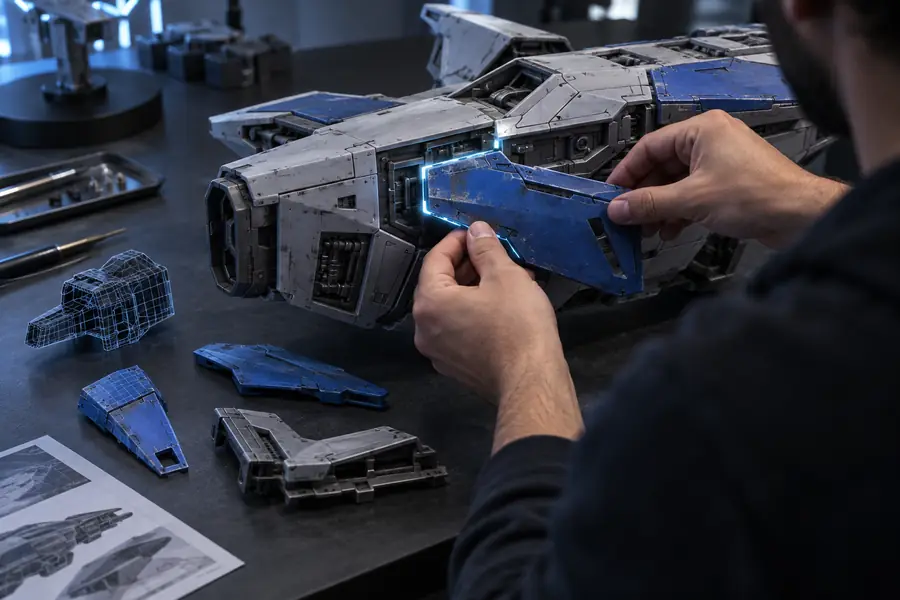
Treat the first output as a draft: compare the silhouette, required features, and intended use before refining the prompt.
Before: describe the ideaAfter: review the modelQuick answers
Tutorial FAQ
These answers cover the basic decisions people make when learning how to use model ai 3d free for an initial 3D generation workflow.
Start with one clearly defined object and decide what the result is for. Then write a short visual brief covering its shape, style, materials, and the features that must remain visible.
Include the subject, overall silhouette, proportions, surface or material, and a few important details. Avoid a long list of competing instructions; generate a focused first version and revise the weakest part afterward.
It can create a useful starting asset or concept, but production readiness depends on the result and the destination. Check topology, scale, openings, UVs, materials, and file compatibility before using it in a final project.
A reference image may not show the full shape, depth, or hidden surfaces, so the system has to infer them. Use a cleaner image, describe the must-match silhouette explicitly, and provide additional views when the workflow supports them.
Change one variable at a time instead of rewriting everything. Make the subject simpler, move essential features earlier in the prompt, clarify proportions or materials, and compare each revision against the original goal.